Not using one of the big names in the eCommerce space? No problem! When using a custom platform and/or checkout flow, you will need to add our tracking code and purchase pixel code within the header tags on every page of your website including your purchase confirmation page.
Note: The following is generalized code that may require some modification to work correctly.
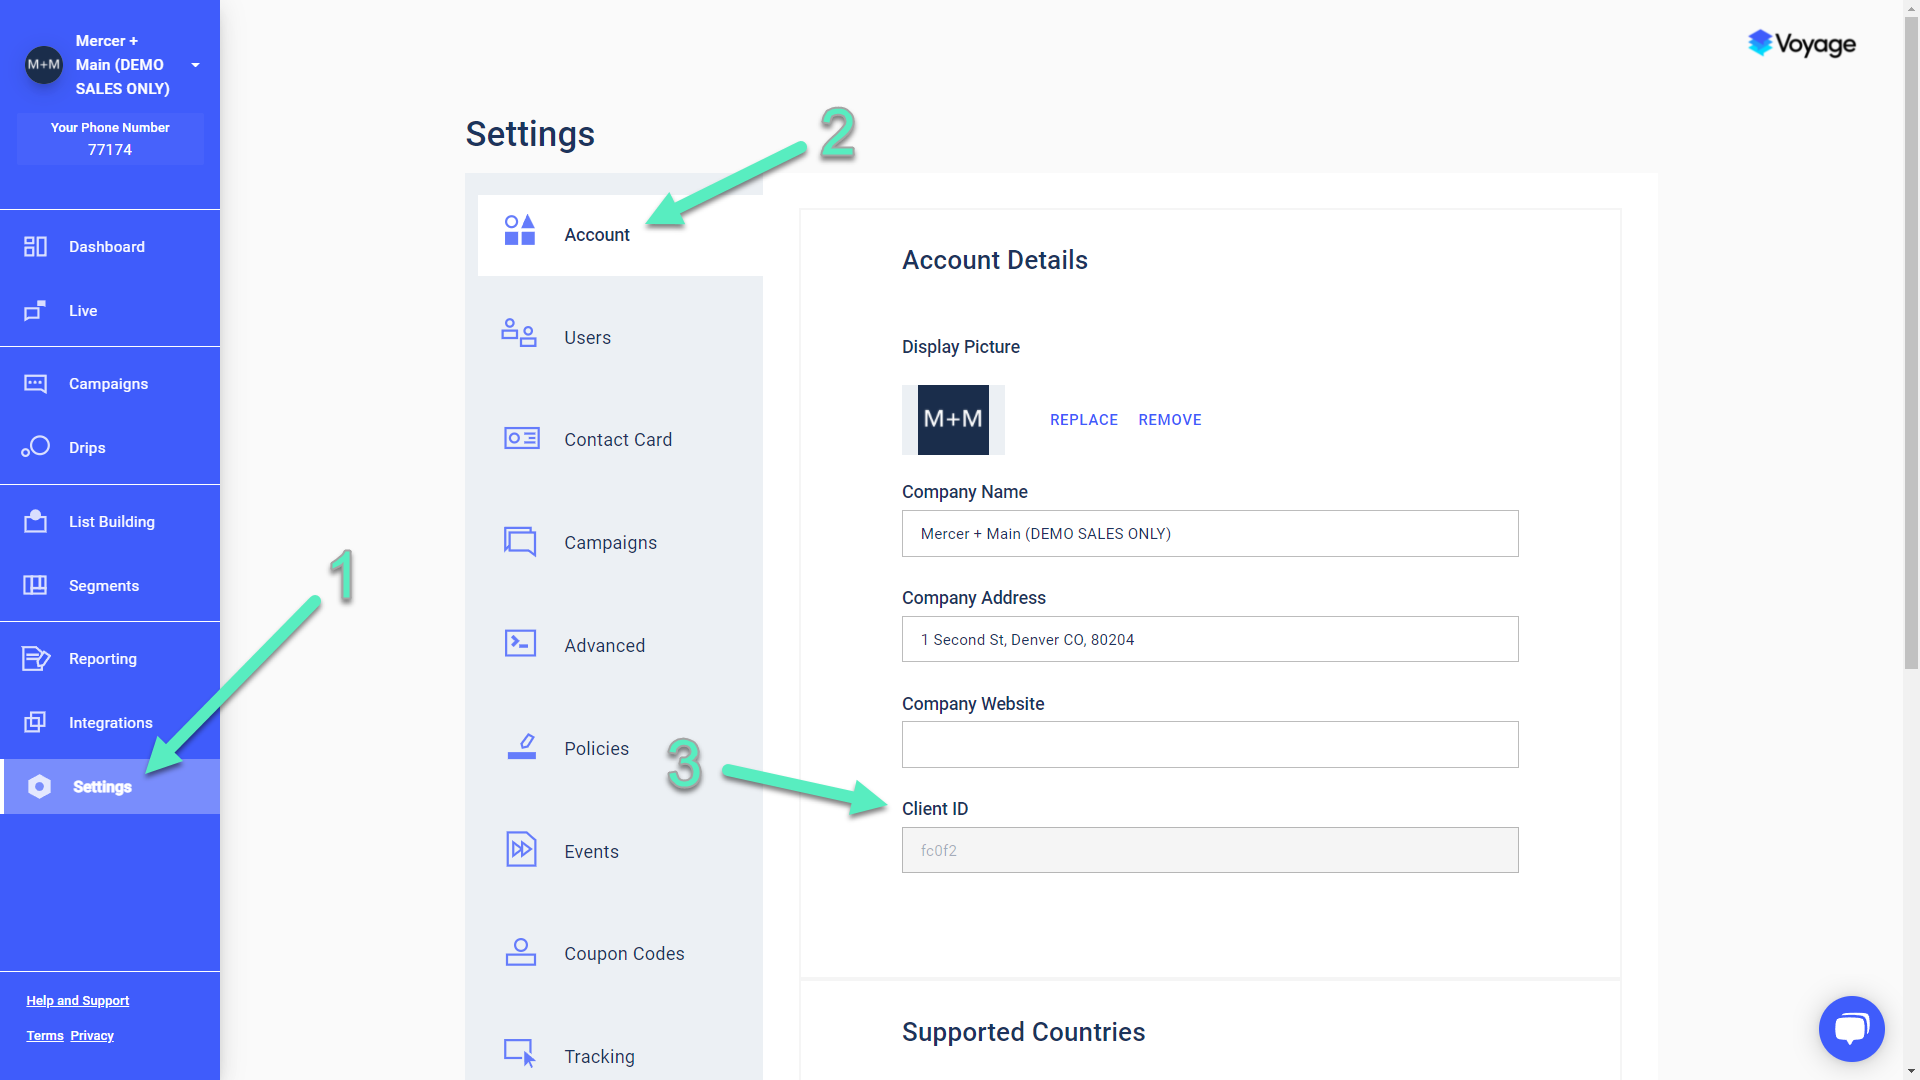
Client ID
You'll need to locate your client ID to inject into the code below. In the Voyage web app, go to Settings [1], then select Account [2]. Scroll down until you see your Client ID [3]. Copy this value for use in the code below:
Tracking Code
For the tracking code, add the code below to your main website’s header tag.
Important: Replace 'Client_ID' in the code below with your own Client ID:
<script type="text/javascript">
/* <![CDATA[ */
(function(){if(window.voyage)return;window.voyage={q:[]};var fns=['init', 'event', 'track'];
for(var i=0;i<fns.length;i++){(function(fn){window.voyage[fn]=function(){
this.q.push([fn,arguments]);}})(fns[i])}})();voyage.init('Client_ID', { popup: true });
/* ]]> */
</script>
<script async src="https://assets.voyagetext.com/voyage.production.js"></script>
Purchase Pixel
For the purchase pixel, add the code below to your Order Confirmation/Checkout Success page after the opening body tag. You will need to add the above tracking code if your Order Confirmation/Checkout Success page uses different header code than the rest of your website.
Important: You will need to replace [AMOUNT_DOLLARS] with the variable representing total value of the purchase in dollars (e.g., ’amountDollars: 56.23’)
<script type="text/javascript">
voyage.track('Purchase', { amountDollars: [AMOUNT_DOLLARS], orderId: [ORDER_ID] });
</script>
If you have any additional questions please contact us at [email protected].